
This content was kindly sponsored by Fickle Dice Games, the creators of Gloom Trench 1926.
You can find them on social media at:
Instagram: https://www.instagram.com/fickle_dice_games/
Facebook Group: https://www.facebook.com/groups/gloomtrench
Gloom Tench 1926 is a game that takes the grim real world setting of WW1 and introduces an alternative history, where human science has resulted in a world overrun by fearsome monsters known as “The Scourge”. The upcoming Kickstarter for the Russians is due to launch at 1pm GMT (8am EST) on the 7th Feb 2023. You can follow this campaign right here!
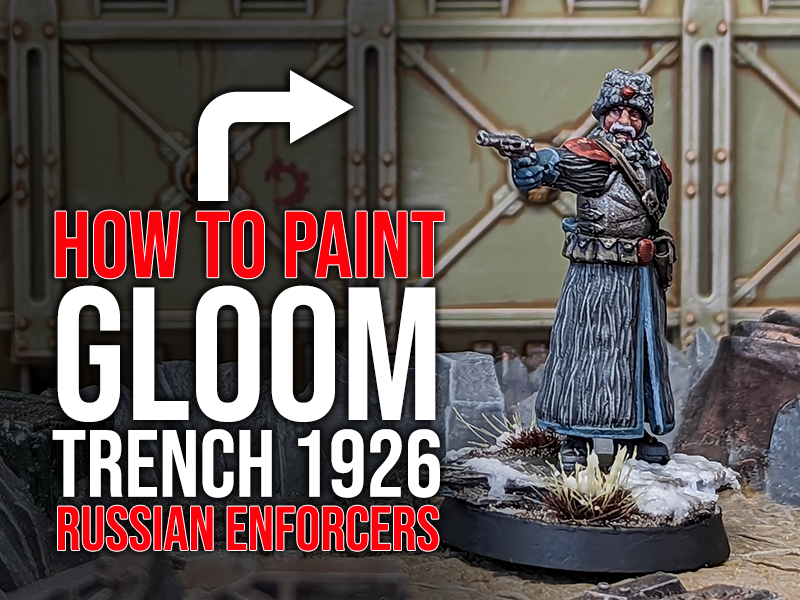
In this article I will show you how I painted an Enforcer for two of 3 Russian factions from the game. This painting article uses Citadel Colour paint names, although you can apply the same techniques to your own preferred paint brand.


The model was attached with Superglue to a piece of slate which I had attached to the 25mm plastic base. We’ll be adding more detail to the base near the end. The model was primed with Mechanicus Standard Grey hobby spray. I then went over the model itself with the same colour from the pot, to ensure an even finish. The paint from the pot is also a slightly warmer tone.


To bring out the details and highlight all the fur/wool parts of the model, it was given an all-over drybrush with Dawnstone. This was followed by a lighter drybrush with Screaming Skull, this off-white again adds a little warmth into the otherwise cool scheme.


To fully bring out all the details, I then applied a shade of Nuln Oil over the whole miniature. This settles into the recesses without overly staining the raised areas. I used a little Basilicanum Grey to give a blacklining effect around the edges where fur meets coat trim and gloves to help define these edges.
The gloves and coat trim were then painted with Thunderhawk Blue, a grey-blue paint perfect for our wintery themed model.


The blue areas we just painted were given a shade with Gryph-Charger Grey contrast paint. When this was dry, an edge highlight was applied with Fenrisian Grey. I also picked out the knuckles and fingers a little with this colour.


With the blue areas done, I moved onto the leathers by painting them all with Wyldwood contrast paint. This included the pouches, belts, and sword scabbard. This was highlighted with Steel Legion Drab.


To finish the leathers, I used Karak Stone to apply smaller highlights to all these areas. It’s ok to be a little rough with this, since you will create a worn leather appearance.
The face was started by giving it a paint with Tuskgor Fur, a nice reddish fleshtone. Be careful not to get it onto the fur areas!


The raised parts of the face were painted with Cadian Fleshtone, followed by a smaller highlight with Kislev Flesh on the ends of the nose and cheeks. His moustache was painted with Corax White, implying age and experience on the battlefield.


The eyes got a little bit of Wyldwood dropped into the pupils, then the whole face including moustache were washed with Targor Rageshade, a reddish-brown shade paint.
I then picked out the badge on his hat, his shoulder plates, belt buckle and weapon handle with Blood Angels Red contrast paint. This contrasting red colour helps round out the colour scheme of the whole model.


The red areas were given an edge highlight of Evil Sunz Scarlet, then a few dot highlights with the Cadian Fleshtone we used earlier on the face.
All the metal areas such as the breastplate, pouch buttons, and pistol were given a coat of Leadbelcher.


I used Nuln Oil over all the metal areas, then applied a little Basilicanum Grey contrast into any scratches and dings on the metals to add a bit of depth.
The metallics were then given a highlight with Iron Hands Steel.


It’s time to return to the base. I used a Vallejo textured paint to add in some battlefield mud over the flat areas and on some of the slate. You can use a Citadel textued paint like Stirland Mud if that’s what you’ve got to hand. Once dry, this was given a wash with Agrax Earthshade, before it got a drybrush of Screaming Skull.


Finally, I applied snow effects with Citadel Valhallan Blizzard. This texture paint dries to give a realistic snowy-slush effect that really helps ground the model. The rim of the base was given a couple of layers of Abaddon Black to finish the model off and call it ready for battle.

And that’s it! Our Russian Enforcer is now ready to face the horrors of the grim dark battlefields of 1926 and all the terrifying creatures that lurk on them! As you can see in the picture above, this scheme can be applied just as easily to both the 28mm and 15mm versions of the Gloom Trench 1926 miniatures.
All that remains is to once again thank Fickle Dice Games for sponsoring this content, do go check them out and get ready for their kickstarter in the first week of February. Have fun painting your own miniatures!


