
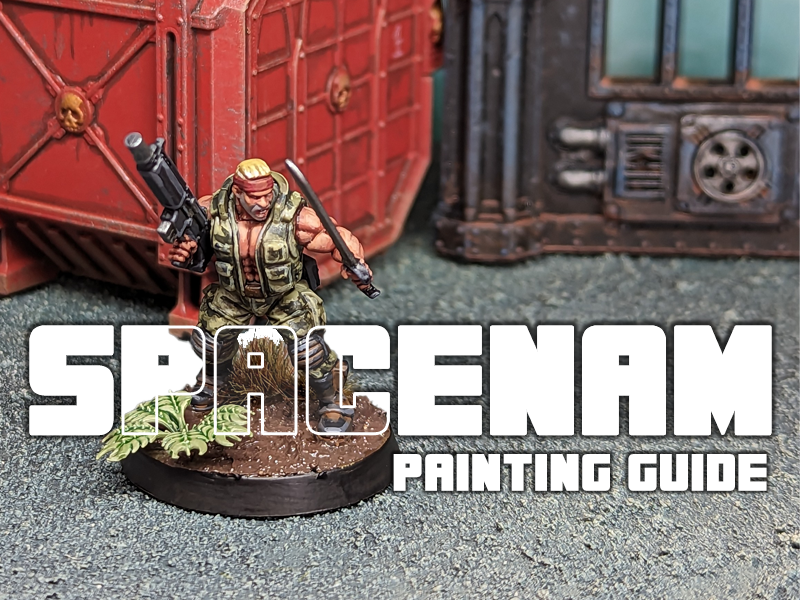
If you’re looking to add some jungle-based death-world defying warriors to an army of the far future, or just some unfortunate blokes in a forest, you could do a lot worse than the Spacenam kit from Wargames Atlantic. These are modern-looking sculpts with tons of options, and I’d been meaning to pick some up for quite a while for a painting project.
In this article I’ll show you how I painted one such model with step-by-step instructions. Apply this guide to your own warriors and you’ll soon be thrashing whatever decided to see you as prey…


I assembled my miniature with a bandana, open jacket and a pose with easy access to all the details for this tutorial, but there are tons of options in the kit and you’ll have dozens of leftover bits. The base got a Barbed Bracken addition. I began the paintjob by spraying the model Death Guard Green. This will give us a solid base for the model’s fatigues.


The skin was painted with Tuskgor Fur from Citadel, then the weapons, kneepads, boots and waist pouches were painted with Vallejo German Grey. This gives us our three main areas of colour blocked out. For a purely “3 color minimum” tournamnet requirement you could probably get away with this if you’re in rush! But let’s continue on…


Next I picked out a few extra details – the bandana and wristband with Game Colour Scarlet Red, the hair with Citadel Hobgrot Hide, and the belt and knee straps with Thondia Brown. I also painted the top of the base Thondia Brown at this point. Then I took Death Guard Green from the pot to go over the fatigues again and clean up any mistakes I could spot. With this, the main base coats are done.


It’s fair to say that “Get Spotted By Hungry Alien” is fairly low down on these guys’ To-Do lists, so it’s time to help them hide a bit in the jungle growth with a bit of camo. I began by applying islands of Citadel’s Krieg Khaki across all the green areas. Try to imagine each one as an irregular island shape, each one different to the ones near it. Apply these so the green areas are roughly 50% Death Guard Green and 50% Krieg Khaki.
For the darker shade, I made a mix of German Grey and Death Guard Green and applied these again in irregular mottled shapes. You want the dark areas to overlap both of the other shades of green – try to make each dark patch connect to both of the other shades. This will help create that ideal forest camoflage.


The black and green areas were all then given a coat of Citadel Nuln Oil to shade the recesses. The black areas were then highlighted by mixing Vallejo Stonewall Grey into German Grey, with edge highlights along the gun, boots, pouches and knee pads.


Next I picked out the teeth with Pro Acryl Ivory, and shaded all the flesh (and hair) with Citadel Targor Rageshade. This is like a slightly reddish Agrax Earthshade-like. While I was at it I also used Citadel Biel-Tan Green on the bracken.


His hair was highlighted by making a mix of Hobgrot Hide and Ivory, painting short stripes with this mix, then using pure Ivory at the front of each strip. Hobgrot Hide was also mixed into the Scarlet Red to create a highlight for the bandana and wrist strap.
The skin was highlighted first on all the raised details with 50:50 Citadel Cadian Fleshtone and the original base colour of Tuskgor Fur. Then a pure highlight of Cadian Fleshtone was painted on the upper areas, avoiding the shadows and undersides of the arms. Lastly again, a little Ivory was mixed into the Cadian Fleshtone to create a final highlight just for the most prominent upper areas, and on the model’s nose.


Gunmetal was painted onto the knife blade and a few of the gun details, and these were given a shade with Nuln Oil.
I returned to Krieg Khaki to highlight some of the various areas on the fatigues a little more, to help make them more readable.
To add a little weathering, I thinned down Citadel Mournfang Brown with lots of water to make a thin wash, then ran this into the recesses of the boots and shoulder pads.
I then mixed a little Vallejo Elfic Blue into the Cadian Flesh skintone and glazed it onto the face to create a stubbled look.

Base texture was applied with Mig Ammo Dark Mud, this is a great wet mud texture paint that has a real nasty glossy wet look to it. Perfect for the jungle! And after painting the base rim Black, and adding a couple of tufts, I called him done.

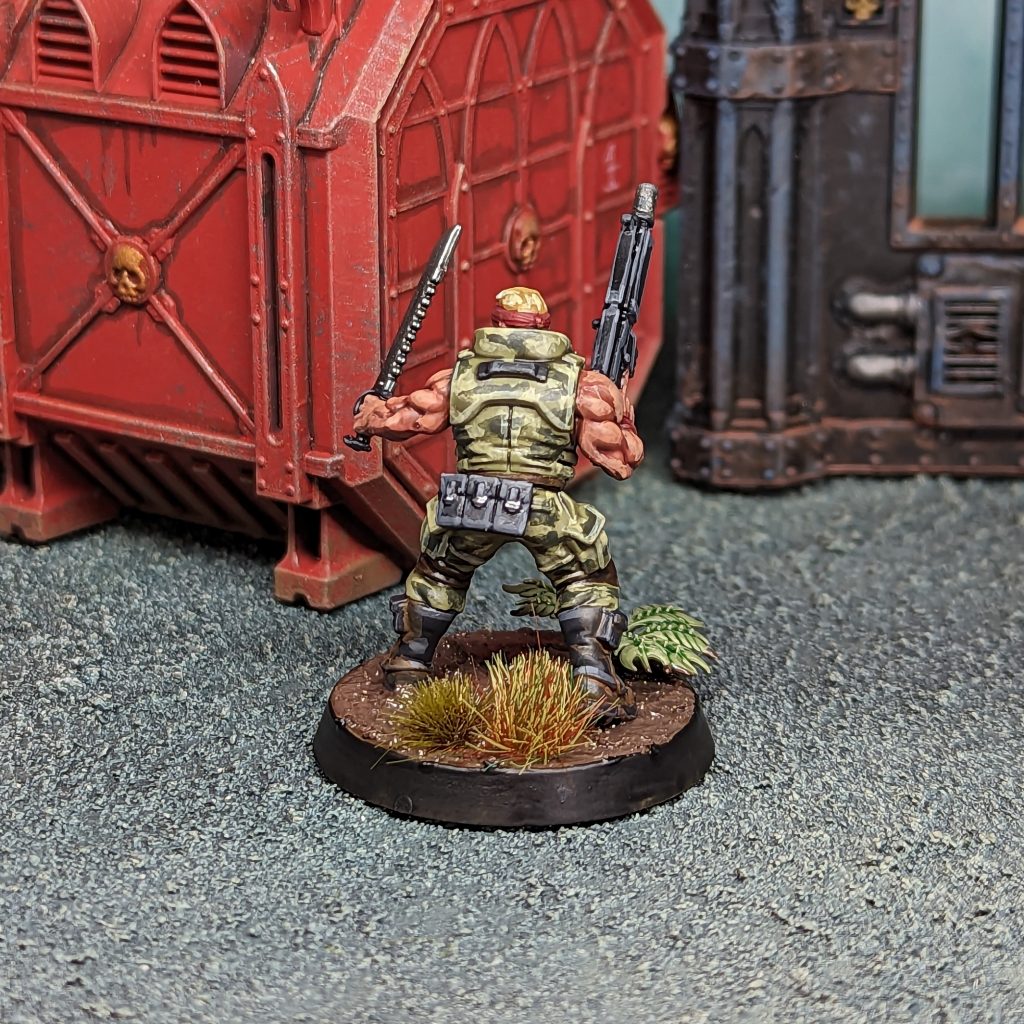
By following the steps in this guide you can quickly and easily paint your squads of grizzled jungle fighters! Perfect for the present day or the far future! I hope you enjoyed this tutorial, and please stay tuned for more like this. Is there any kit you’d like to see me tackle next? Let me know in the Discord!


